Paper Flowers
Projects & Activities
Flowers and plant life have inspired artists since the beginning of time. A quick walk through the Eiteljorg’s Expressions of Life: Native Art in North America exhibit will reveal beautifully beaded bandolier bags featuring floral designs and ribbonwork using colorful floral patterns inspired by the abundance of flora in the Great Lakes region.
In this activity, you can bring a little of the outdoors in by creating colorful paper flowers. There are many ways to make paper flowers, so start with this basic tutorial and then experiment with other options.
Materials Needed:
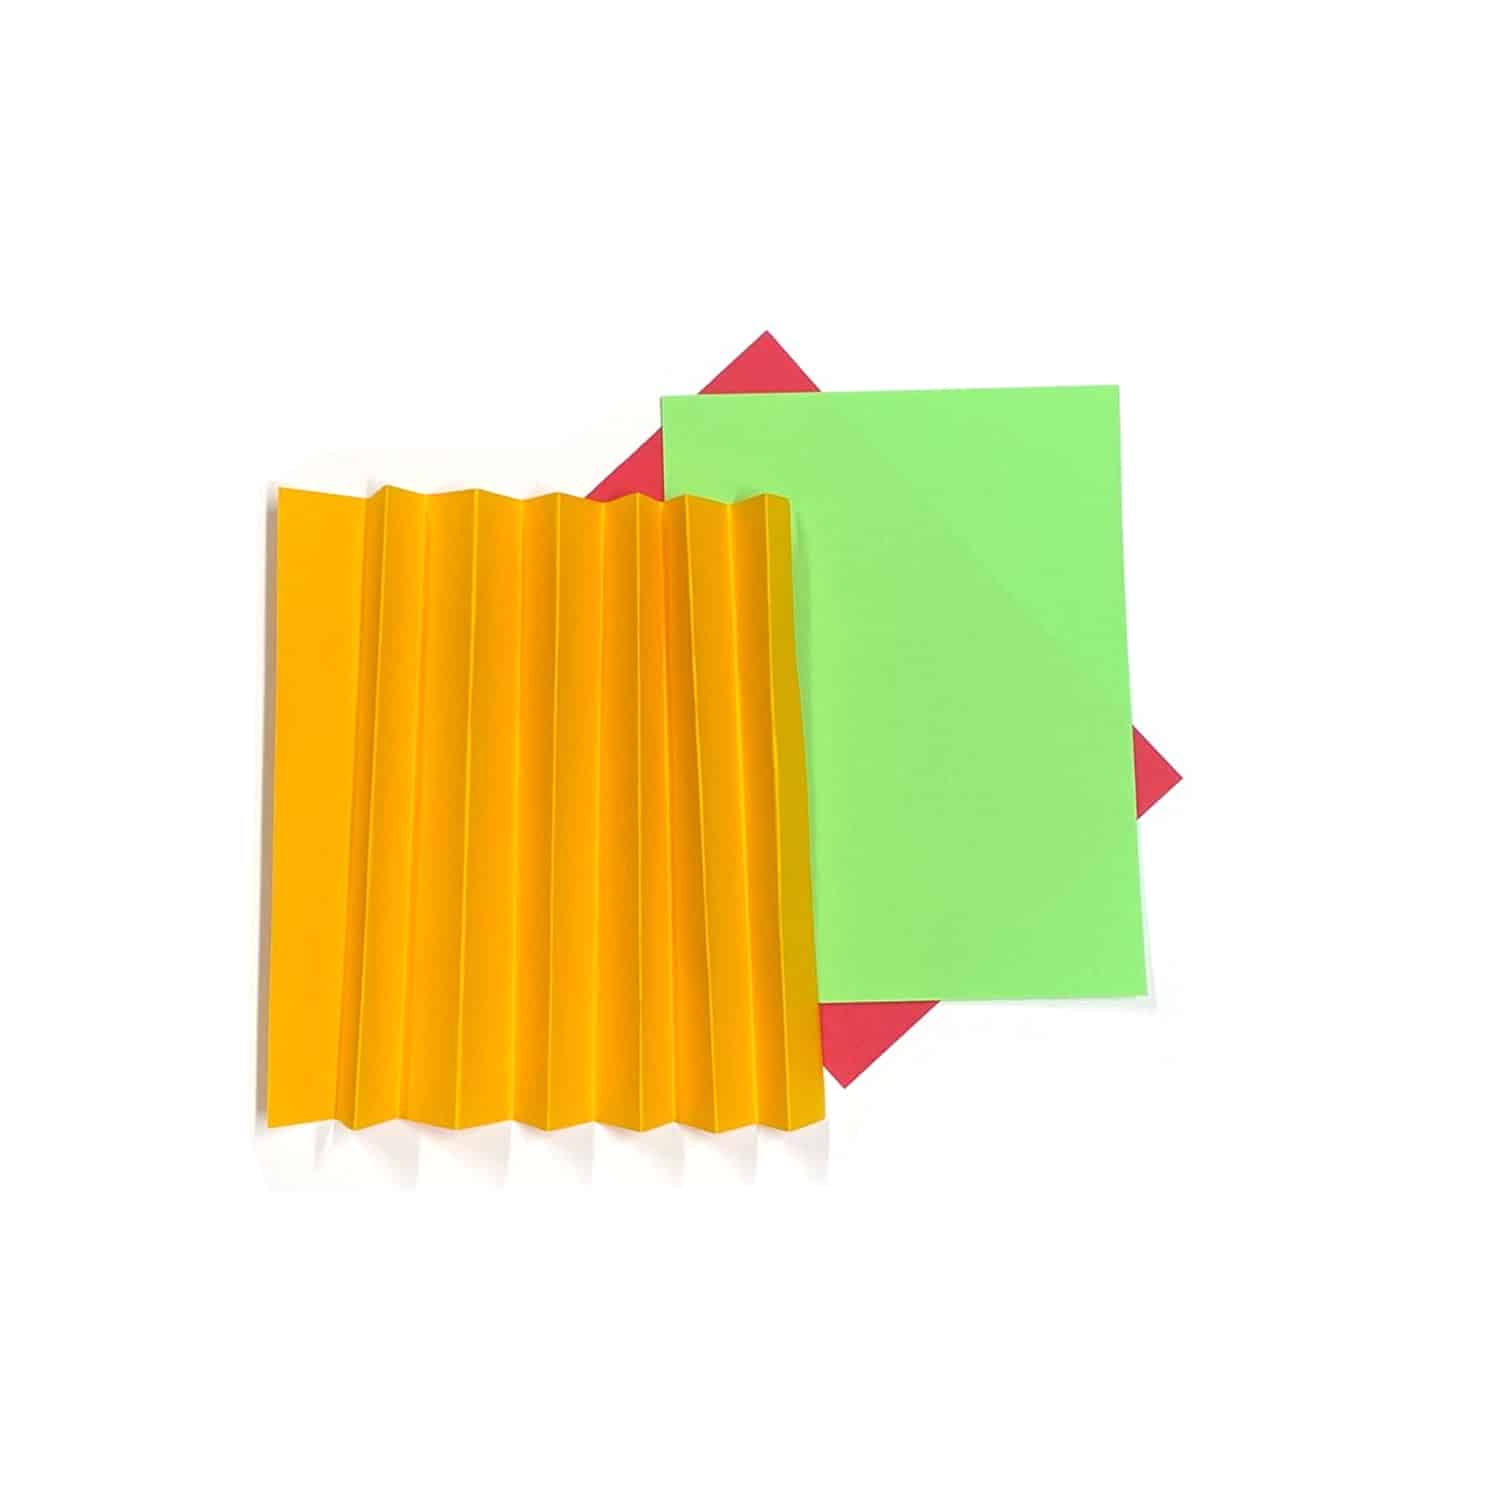
1 piece of paper approximately (8.5” x 11”) for the flower & extra colorful scrap paper for the leaves and stamen. Tip: Thinner paper is easier to work with.
Scissors
Stapler
Directions:
Step 1:
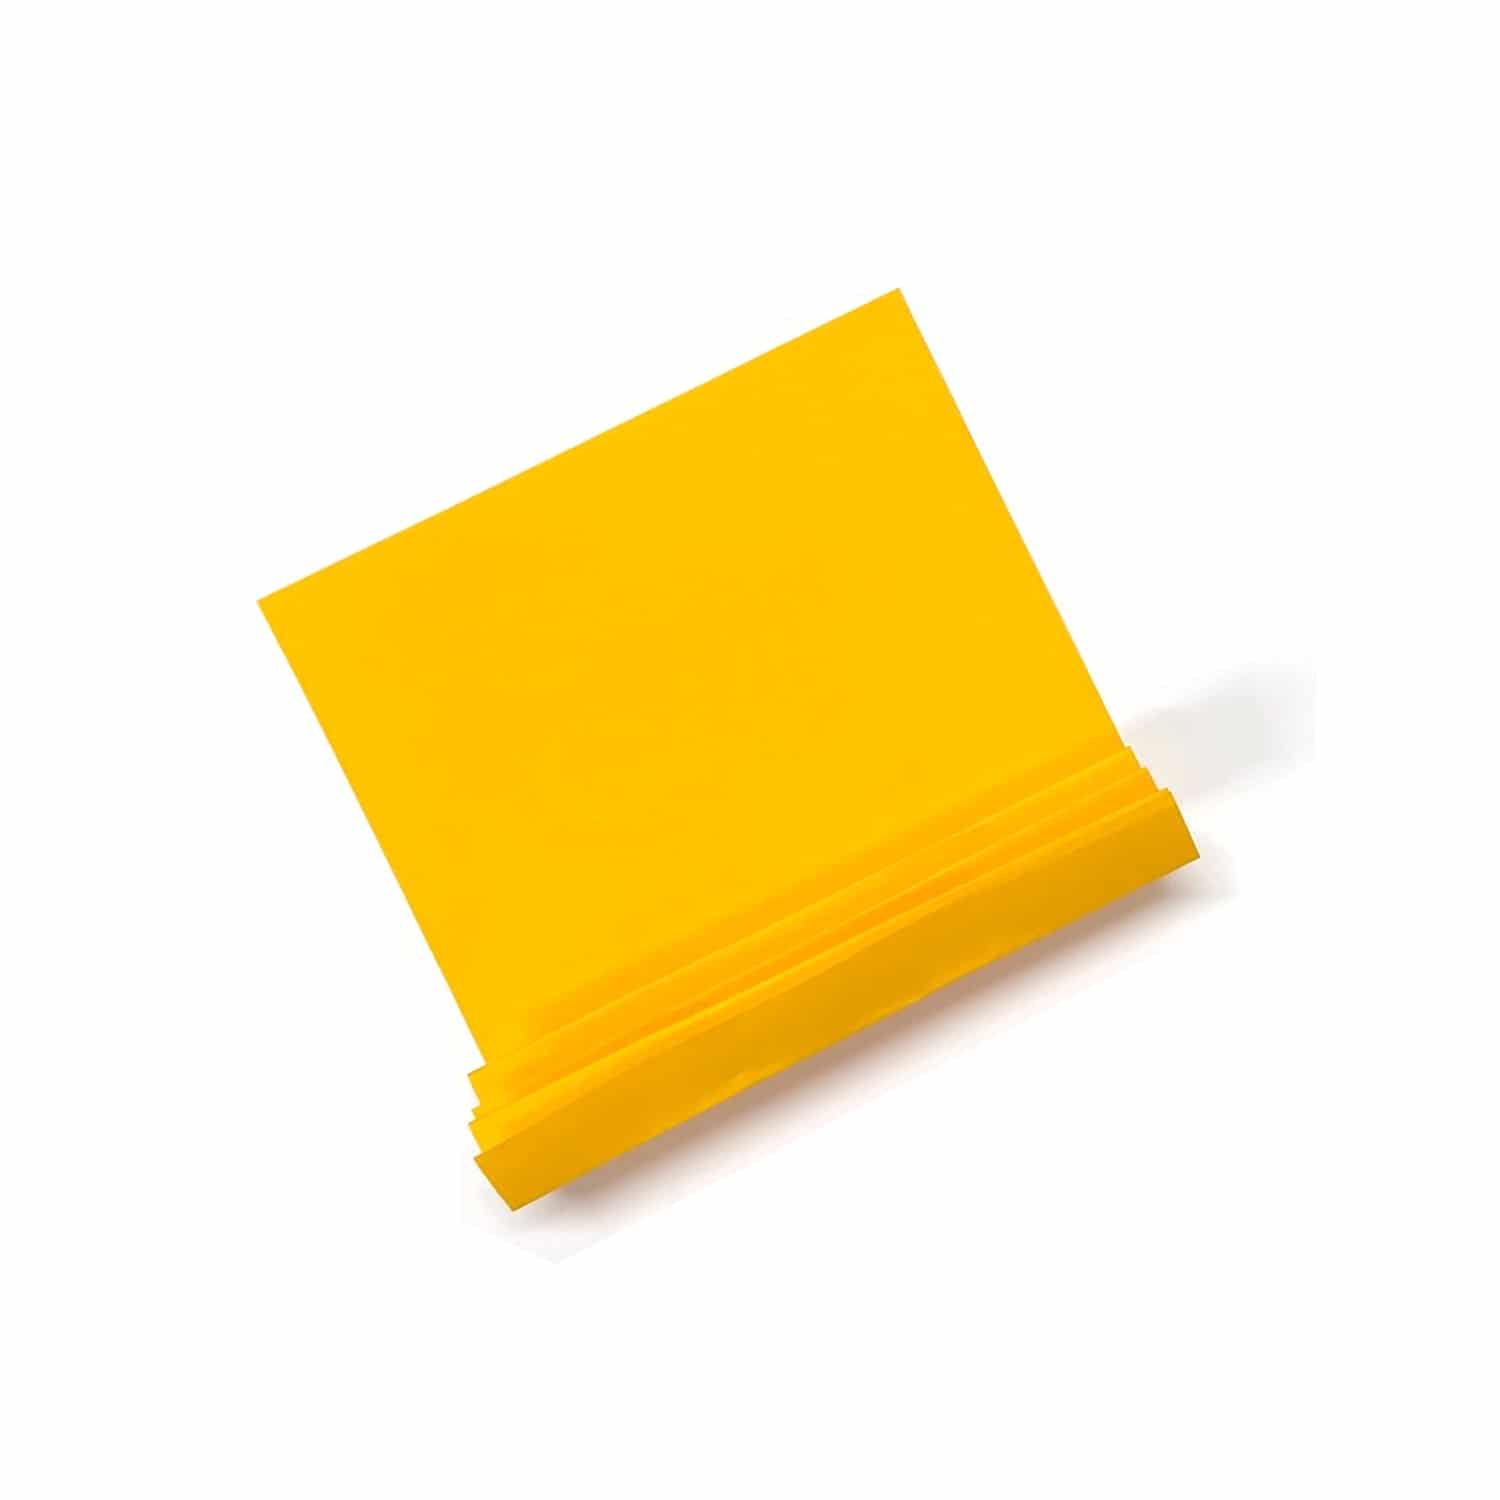
Starting at the short end, fold the paper back and forth accordion or fan style. Try to make at least 10 folds.
Step 2:
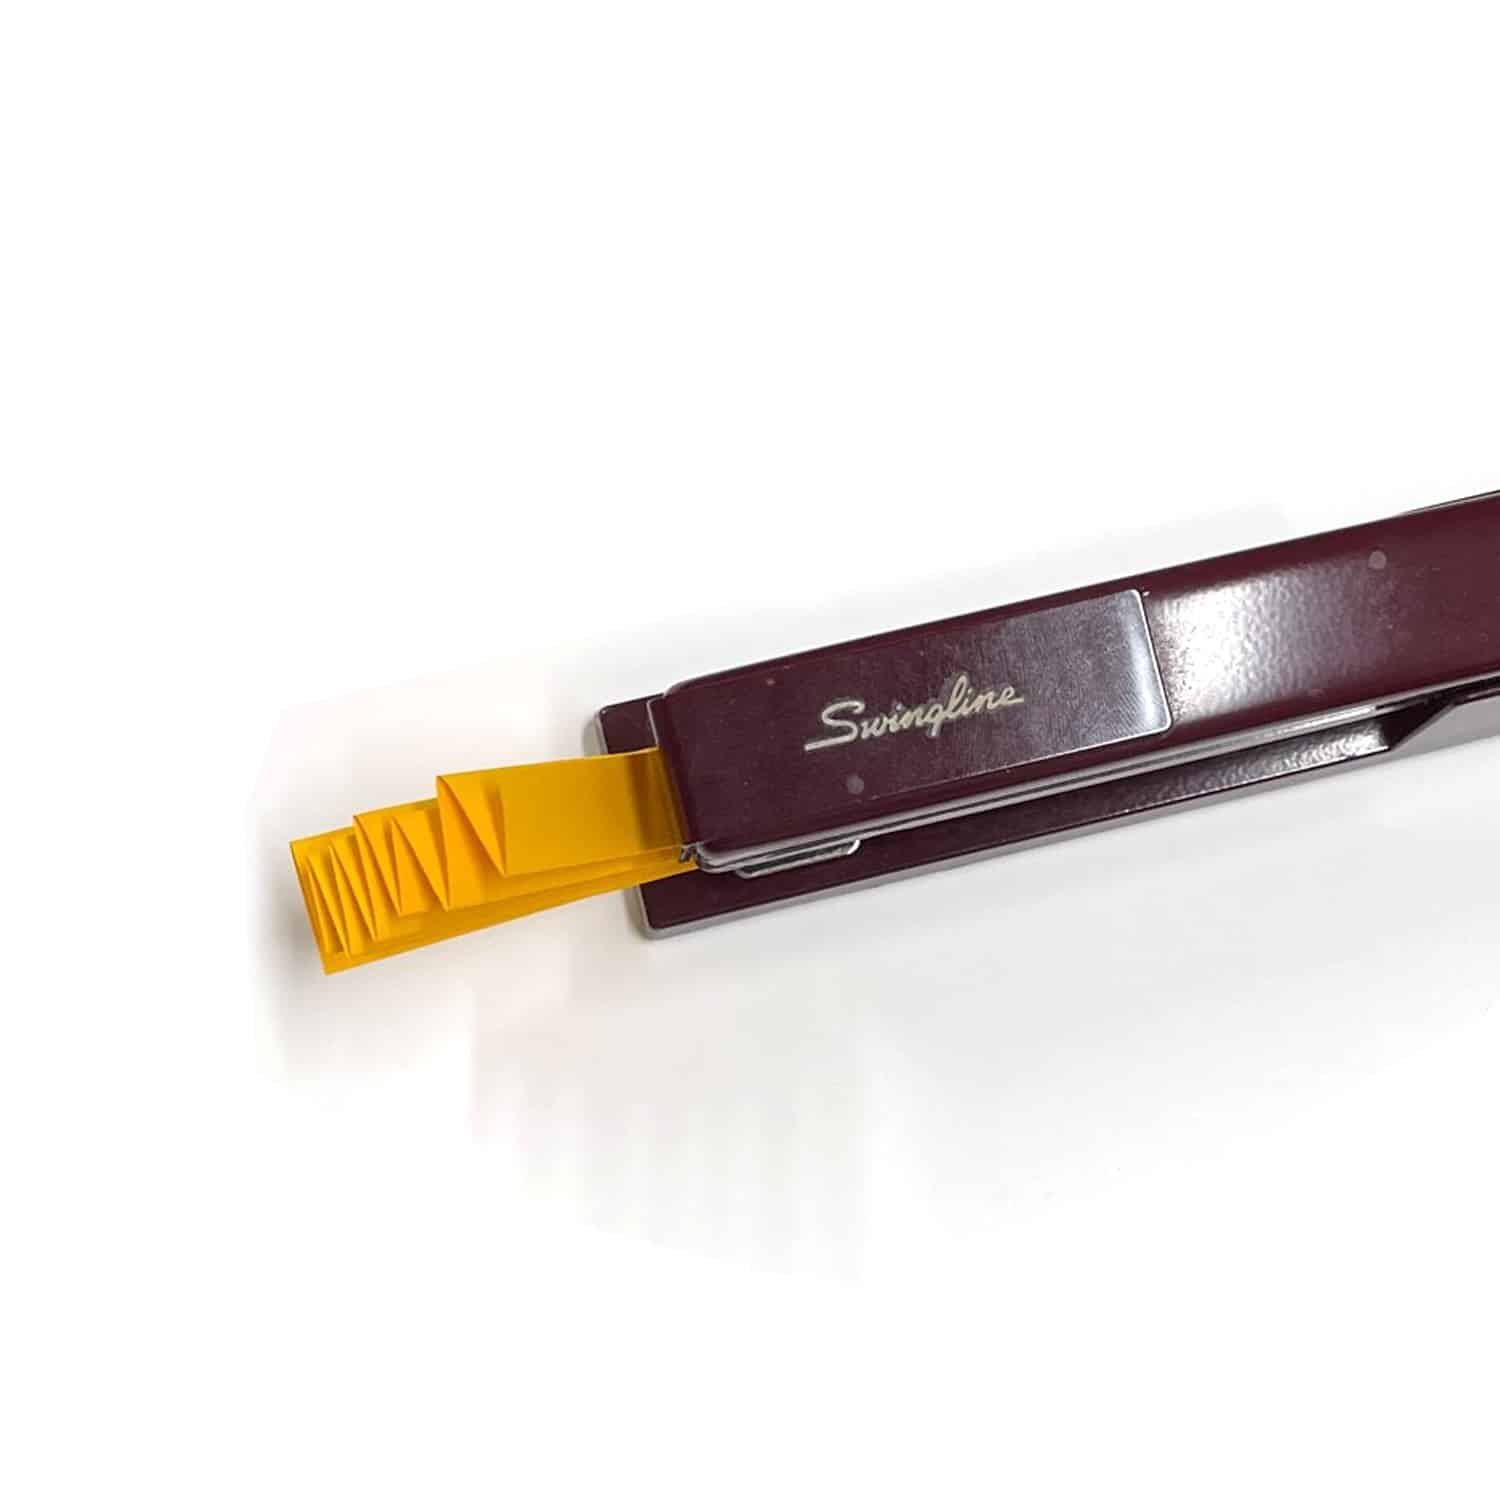
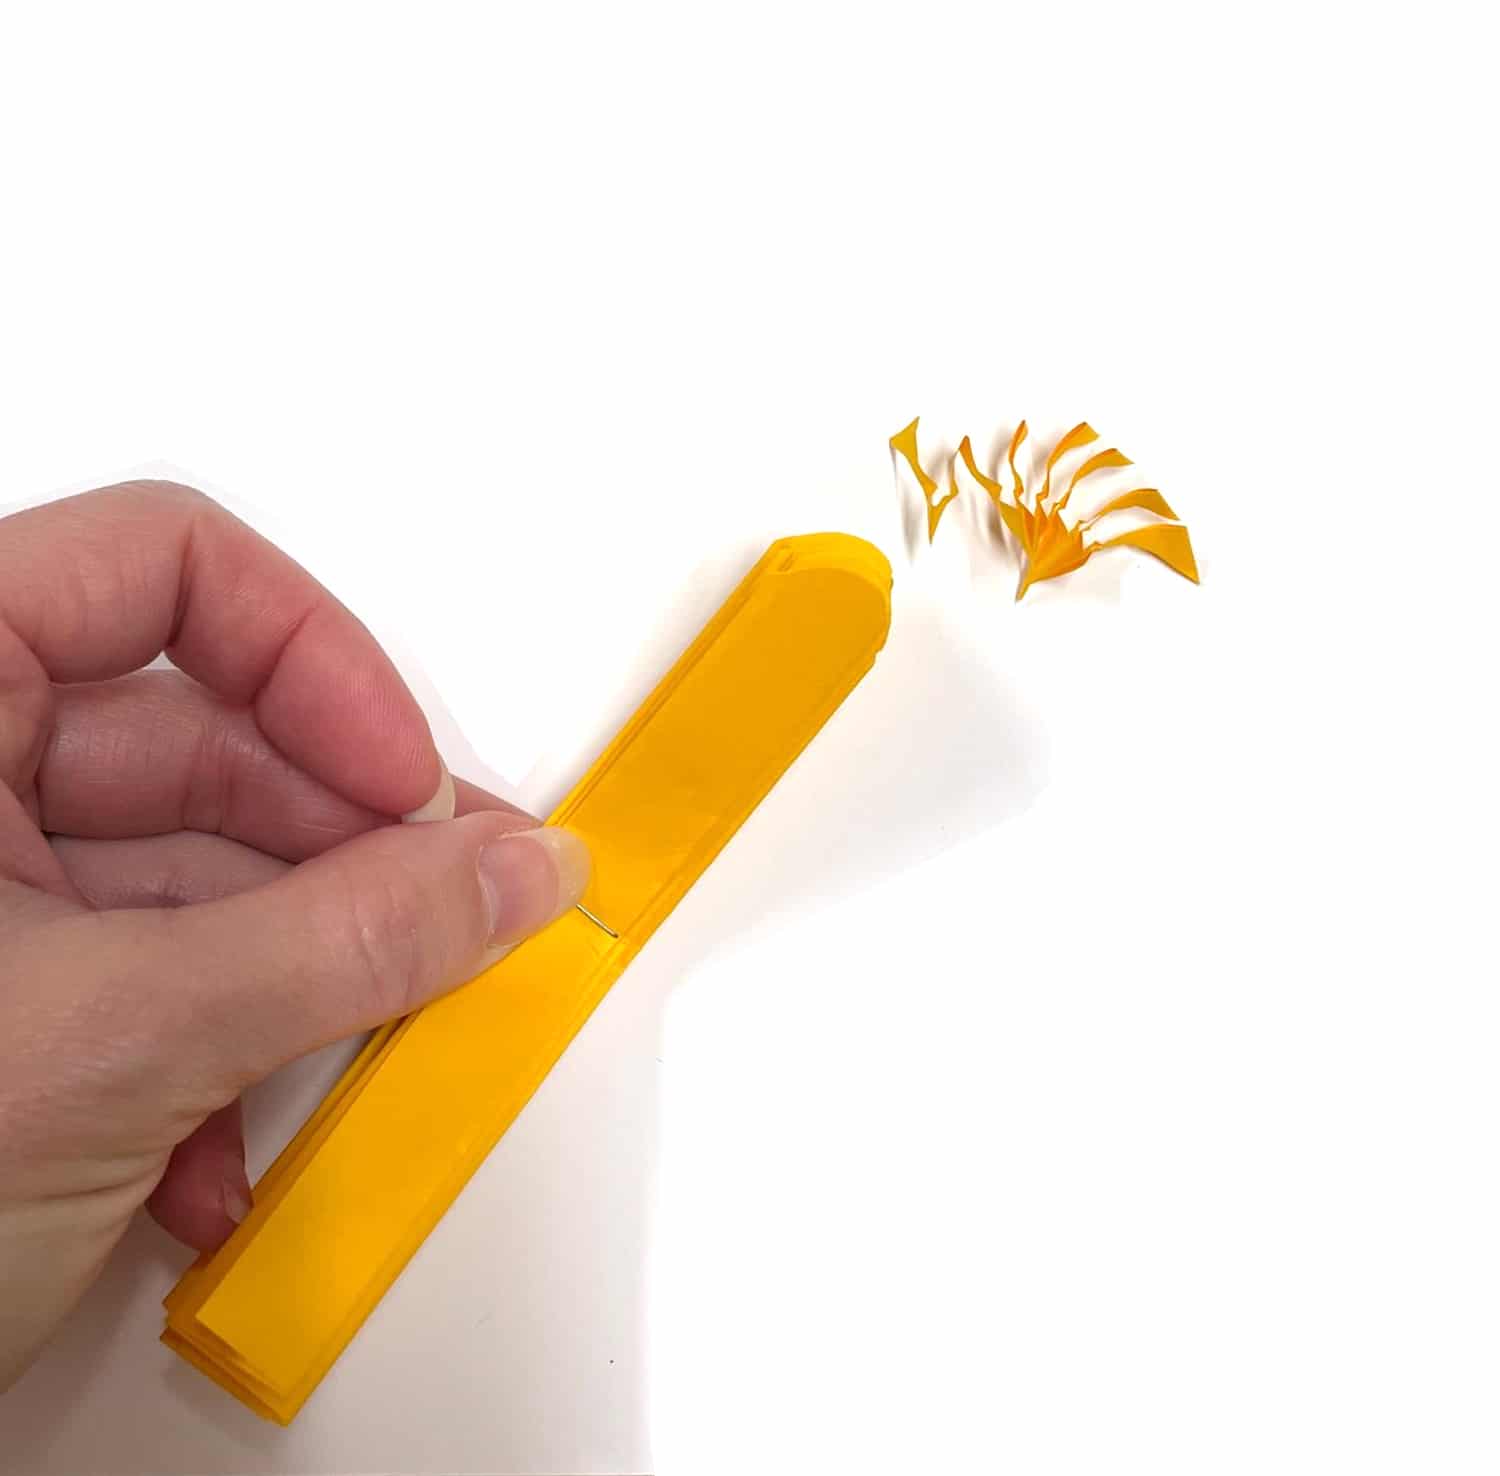
Fold your fan in half & place a staple in the middle to secure your flower.
Step 3:
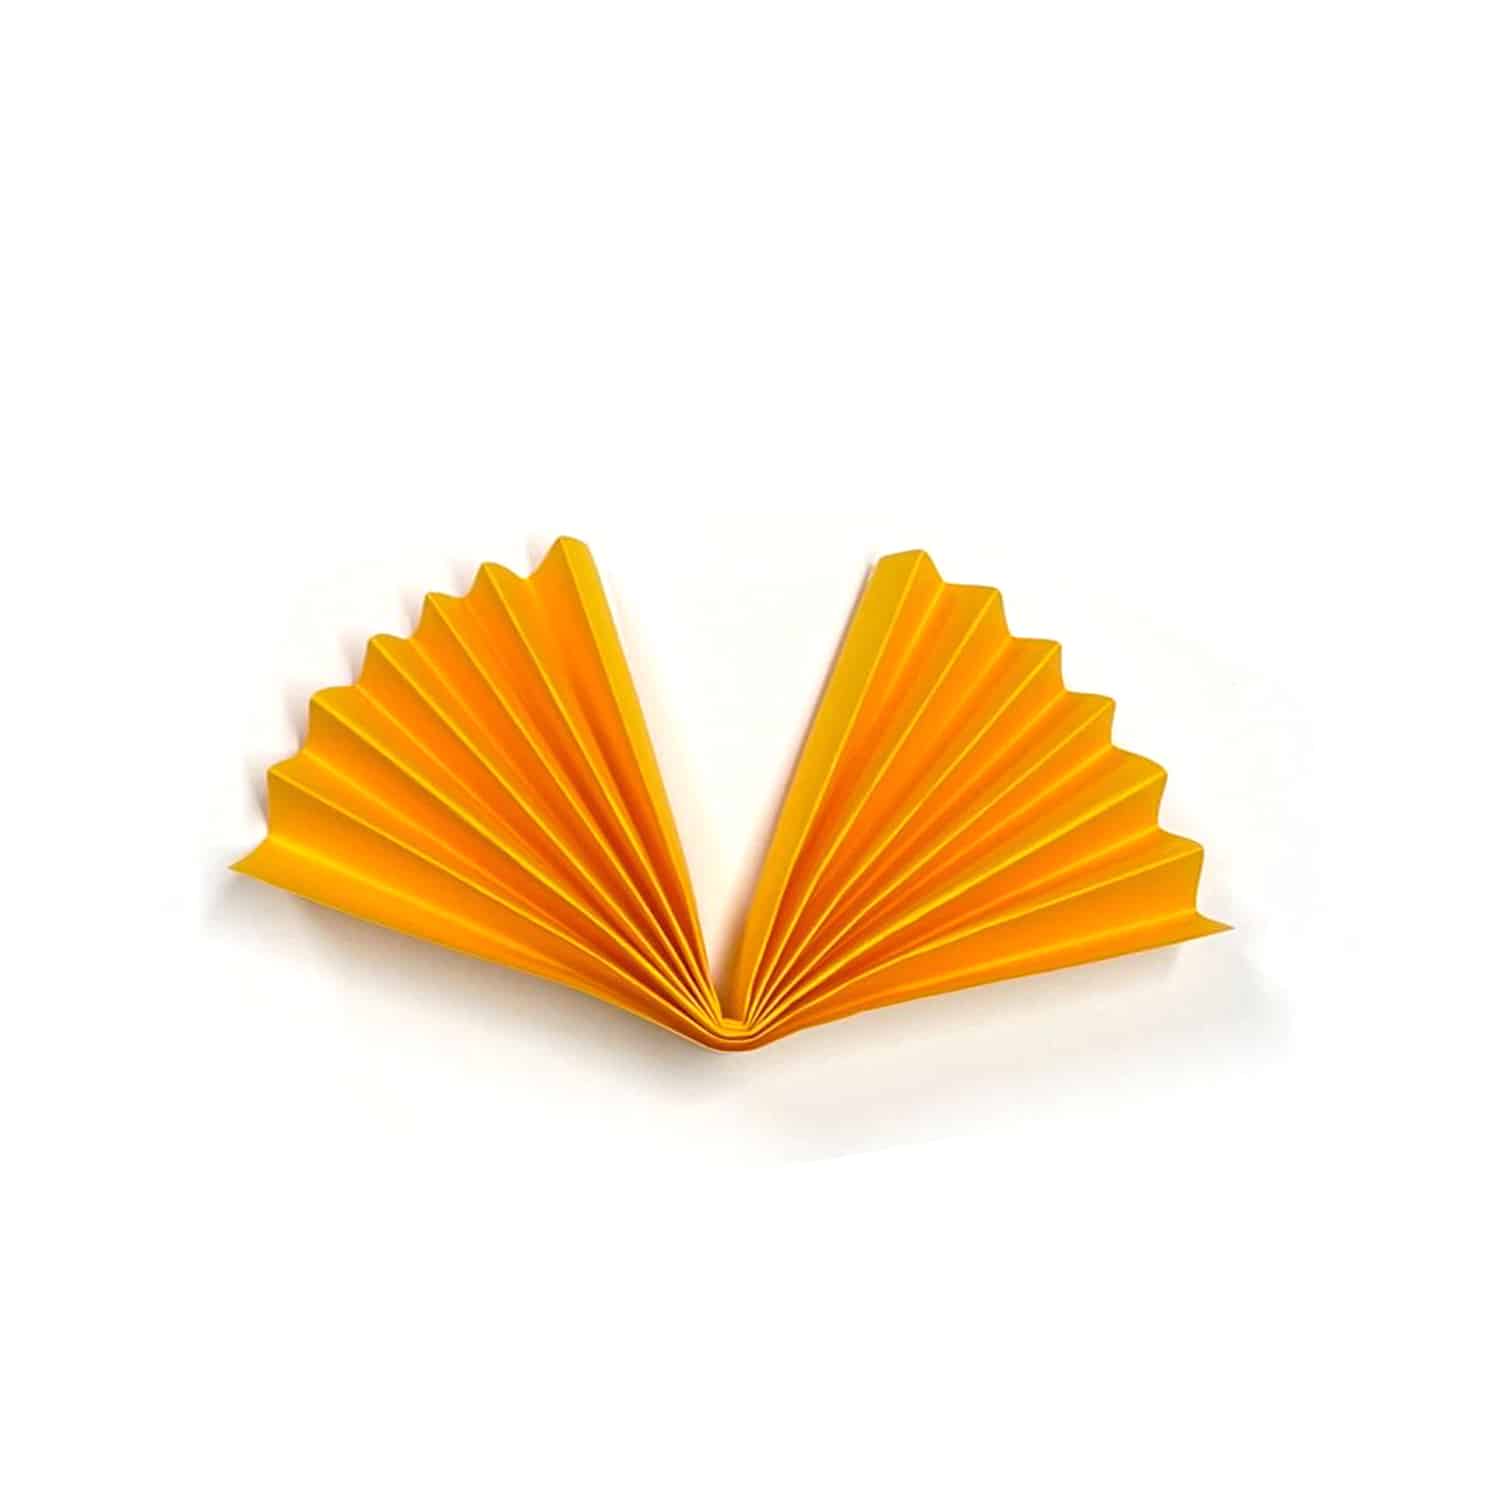
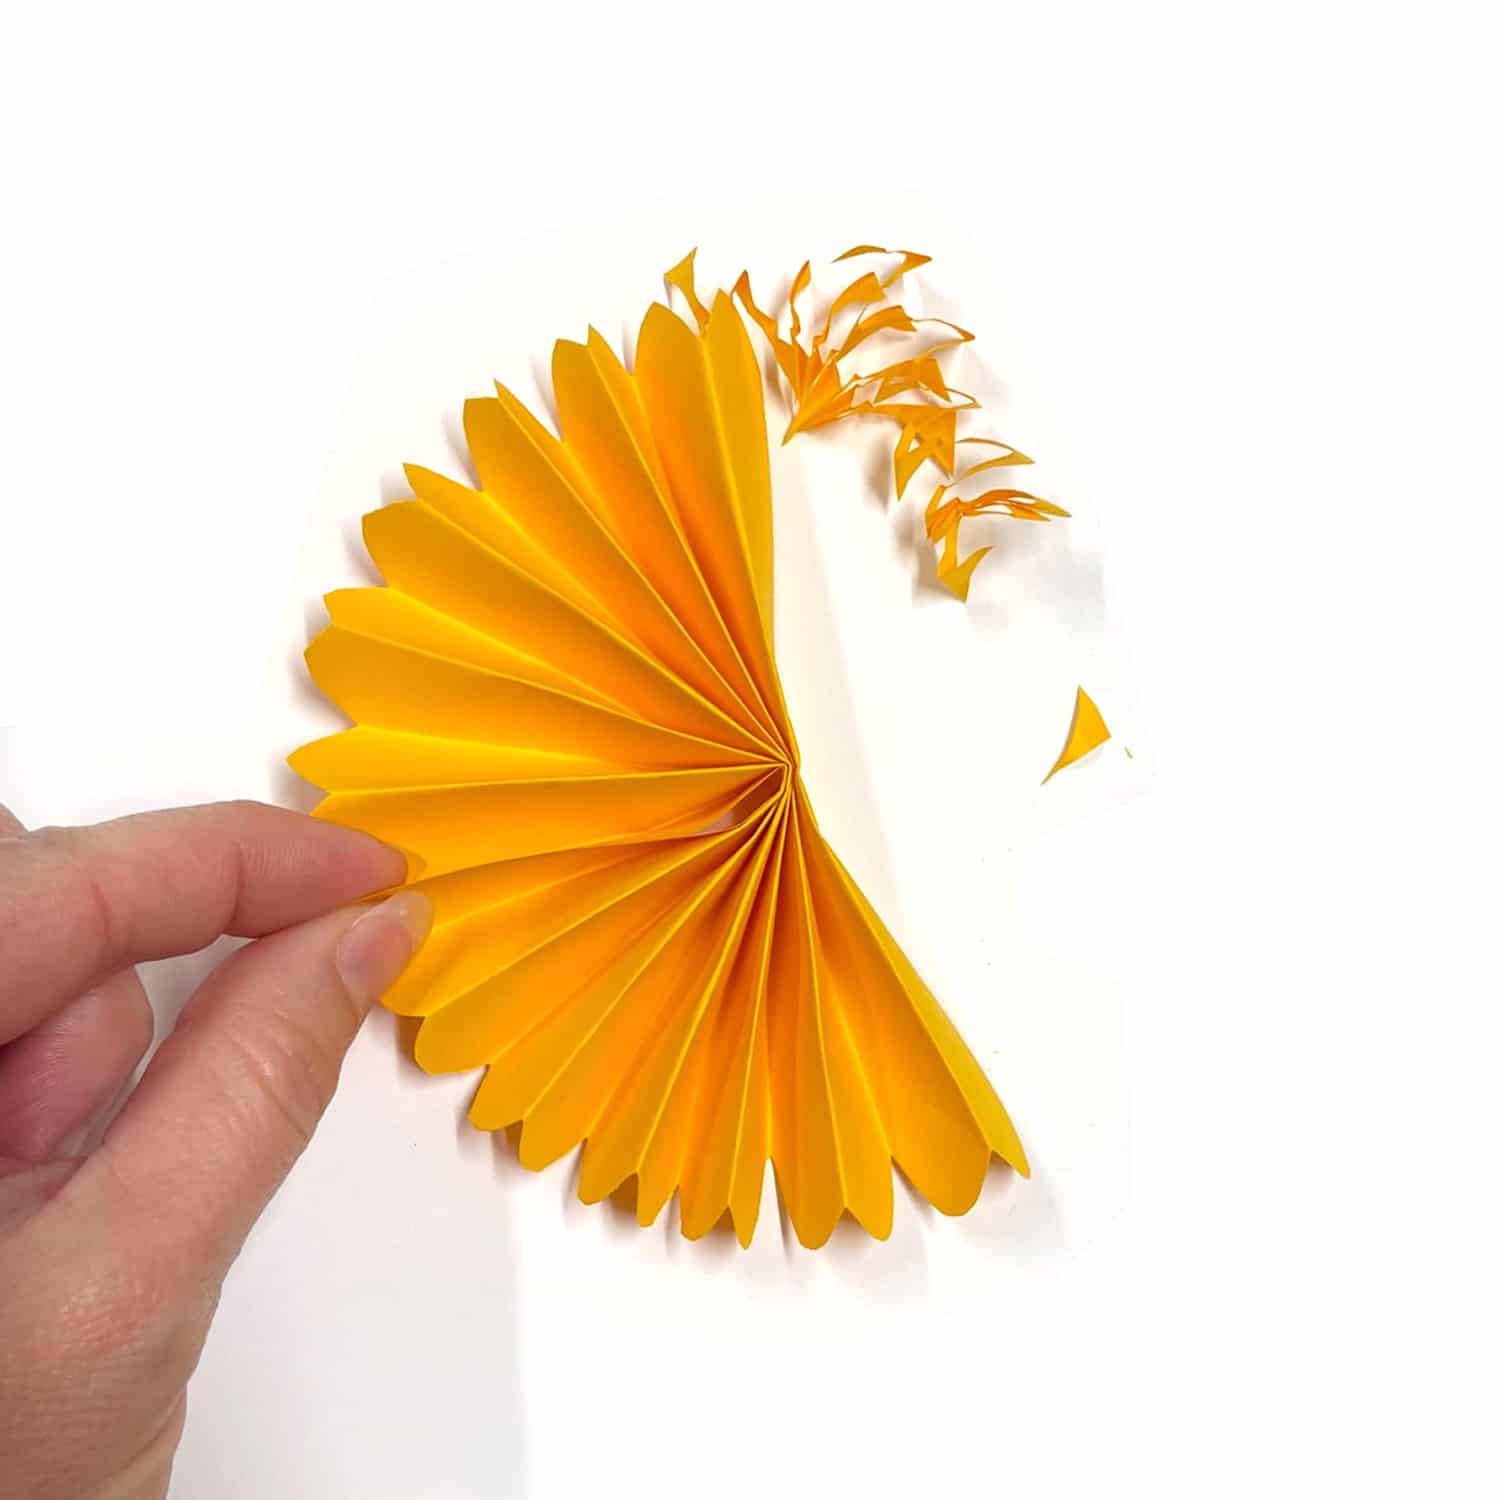
Use the scissors to shape the edges of the folded paper, if desired. This will give your flower different looks. You can round the edges, make them pointed or fray them making many little cuts. Experiment to see how they look.
Step 4:
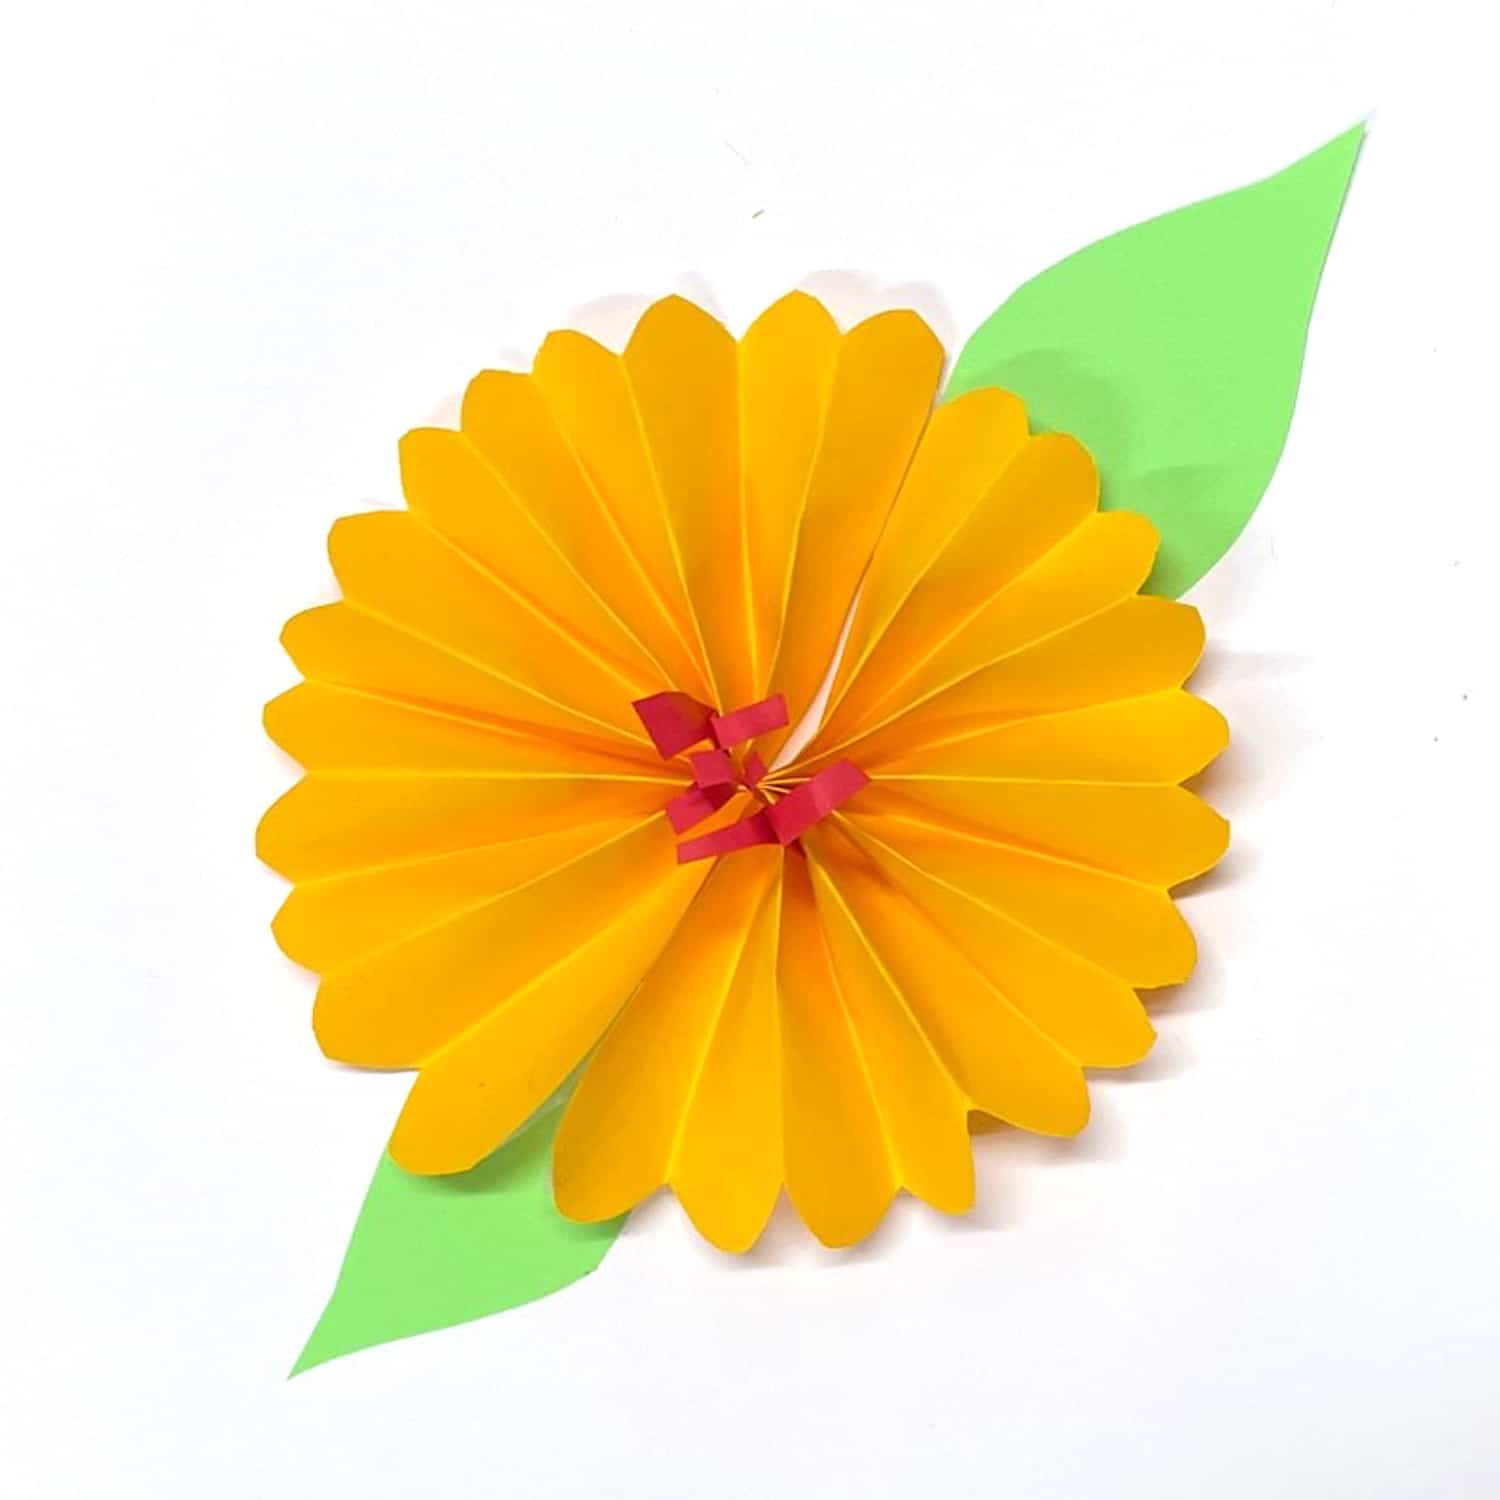
Pull the loose ends together on one side and secure the two ends together using a glue stick, tape or a staple. Do the same for the opposite side.
Step 5:
Use scrap paper to create some flair! Attach leaves, extra petals and other embellishments with glue or tape.


